The ultimate guides to...
ceiling painting
Why Property Owners Should Read This?
Understanding the exterior of a standard-sized home
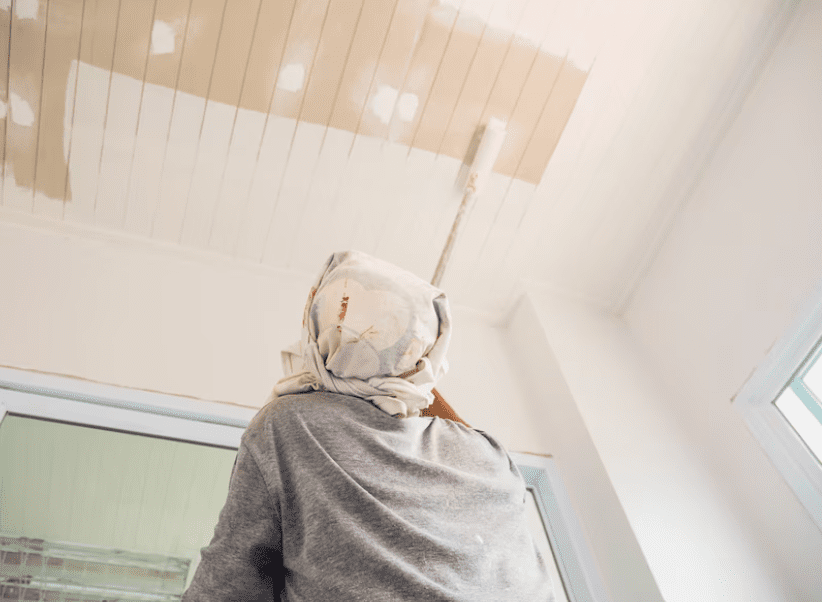
Ceiling painting is a task that often gets overlooked in home renovation projects. However, a freshly painted ceiling can make a significant impact on the overall look and feel of a room. Whether you’re looking to update the look of your home or simply refresh a tired ceiling, knowing the right techniques can help you achieve professional results. In this ultimate guide to ceiling painting techniques, we’ll walk you through step-by-step instructions on how to paint your ceiling like a pro.

Ceiling painting techniques
1. Prep the Room
Before you start painting, it’s essential to prep the room properly. Remove all furniture from the space or cover it with plastic sheets to protect it from paint splatters. Use painter’s tape to mask off the edges of the ceiling and walls to ensure clean, crisp lines. Fill any holes or cracks with spackle and sand down any rough spots for a smooth finish.
2. Choose the Right Paint
When it comes to painting ceilings, it’s best to use flat or matte paint finishes. These finishes help to hide imperfections and provide a more uniform look. Consider using a ceiling paint that is specifically designed for this purpose, as it will have better coverage and adhesion properties.
3. Use the Right Tools
Investing in high-quality painting tools can make a significant difference in the final results. Use a roller with an extension pole to reach high ceilings easily. A roller with a thicker nap will help to cover the surface more evenly and efficiently. Additionally, using a paint tray with a liner can make cleanup a breeze.
4. Cut In the Edges
Start by cutting in the edges of the ceiling using a high-quality angled brush. This technique involves painting a strip of paint along the edges of the ceiling where the roller cannot reach. Be sure to feather out the paint to avoid visible brush marks.
5. Roll on the Paint
Once the edges are cut in, use a roller to apply paint to the rest of the ceiling. Start in a corner and work your way across the ceiling in small sections, overlapping each stroke slightly for even coverage. Avoid pressing too hard on the roller, as this can create uneven lines and streaks.
6. Work in Sections
To ensure a consistent finish, work in small sections at a time. Paint one section at a time, keeping a wet edge to prevent lap marks from forming. Be mindful of the direction you are rolling to create a seamless finish.
7. Allow Sufficient Drying Time
After painting the ceiling, allow it to dry completely before moving furniture back into the room or applying a second coat. Follow the manufacturer’s instructions for drying times to ensure the best results.
Economic Importance to Homeowners
While ceiling painting may seem like a small task, it can have a significant impact on the overall value and appearance of your home. A freshly painted ceiling can make a room look brighter, cleaner, and more inviting, which can be appealing to potential buyers if you ever decide to sell your home. Additionally, regular maintenance of your ceilings can help prevent costly repairs down the line, such as water damage or peeling paint.
Conclusion
Mastering the art of ceiling painting techniques can help you achieve professional results and enhance the look of your home. By following these step-by-step instructions and investing in the right tools, you can transform your ceilings into a focal point of your space. So, roll up your sleeves, grab a paintbrush, and get ready to give your ceilings a fresh new look.